How To Make A Baby Shower Wishing Tree + Free Printables {Butterfly Theme}

For our next round of baby shower inspiration for HUGGIES® Baby Shower Planner, we thought it would be fun to share a DIY tutorial with you on exactly How To Make A Baby Shower Wishing Tree – one of our favorite thoughtful baby shower activities that also doubles as a thoughtful keepsake for mom! Added bonus: you can download the Printable Wish Tags & 5×7 Sign Tags shown in this example for FREE! They’re bright & colorful, butterfly themed printables that coordinate with our Festival du Bebe baby shower theme.
This particular wishing tree is surprisingly easy to create. I know that some places recommend using Plaster of Paris to keep the branch in place for a wishing tree, but I always opt for a simple (and less messy) combo of floral foam and vase gems. It’s quick to put together and makes it a cinch to disassemble the tree after the party for easier storage. Scroll down for the details and download links…


HOW TO MAKE A BABY SHOWER WISHING TREE {Butterfly Theme}
***
Materials:
For the Tree:
- Large manzanita branch (found online or at most floral supply stores)
- Container for branch (we used a plant pot from Ikea)
- Heavy filler (such as rocks, vase gems, or sand)
- Optional decorative filler (we used acrylic crystals for the top layer)
- 2-3 bricks of floral foam or styrofoam
- Faux Butterflies
- 3D Glue Dots
For the Tags:
- Twine (or other ribbon/string)
- Scissors
- Small hole punch
- Printable Tag Option 1: Butterfly Wishing Tree Tags with back design
- OR Printable Tag Option 2: Butterfly Wishing Tree Printable Tags with back pattern (Use this option if you have trouble getting the front & back designs on Option 1 to line up on your home printer.)
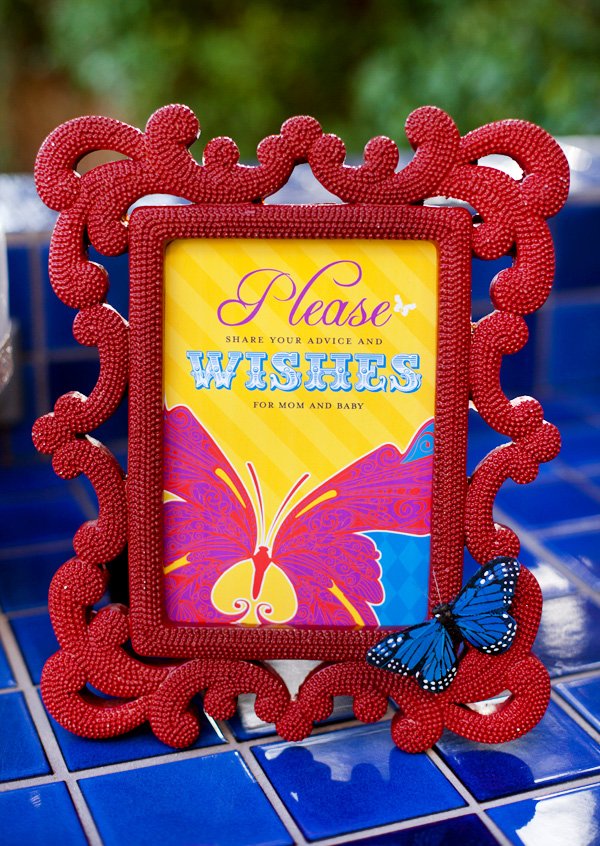
- Butterfly Wishing Tree 5×7 Printable Sign
Step by Step Instructions:
1. Place the manzanita branch in a container. Wedge pieces of styrofoam around it to create a foundation for your filler and help secure the branch, then cover the foam with filler.
2. Apply a top layer of acrylic red crystals. (This is optional – you can use any sort of pretty filler for the top layer or just leave your regular filler showing if it matches the theme.)
3. Embellish branches with faux butterflies, using 3D glue dots to adhere.
4. Print and cut the wish tags. Use a small hole punch to attach loops of string or baker’s twine to the tags for easy hanging on the tree.
5. Display the printable sign with instructions for your guests next to the tree.
*****
P.S. See the Festival Du Bebe Shower theme in action here and visit our Etsy shop for the matching butterfly inspired baby shower invitation and printable party collection. You can also grab additional free printables that match this collection right here!
7 Comments
Comments are closed.


#TSOEvents How To Make A Baby Shower Wishing Tree + Free Printables {Butterfly Theme} http://t.co/XT2hZPCsHl
How To Make A Baby Shower Wishing Tree + Free Printables {Butterfly Theme} https://www.hwtm.com/2013/06/how-to-make-a-baby-shower-wishing-tree-free-printables/ https://www.facebook.com/photo.php?fbid=10151643444193944&l=cf18764148
Hi Jennifer, this is a great idea and I was wondering which size of manzanita tree did you choose (as seen in the picture…)??? Thank you!
Hi HFK – I used the 24-30″ size in “sandblasted” finish :)
I was just wondering if you knew approximately how much the total projects cost?